


bamix® best practice

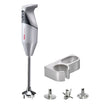
bamix® Product Use and Care

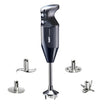
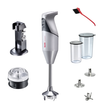
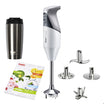
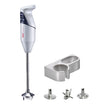
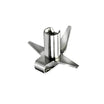
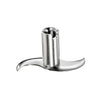
bamix® Multi-Purpose Blade & Meat- Vegetable Blade
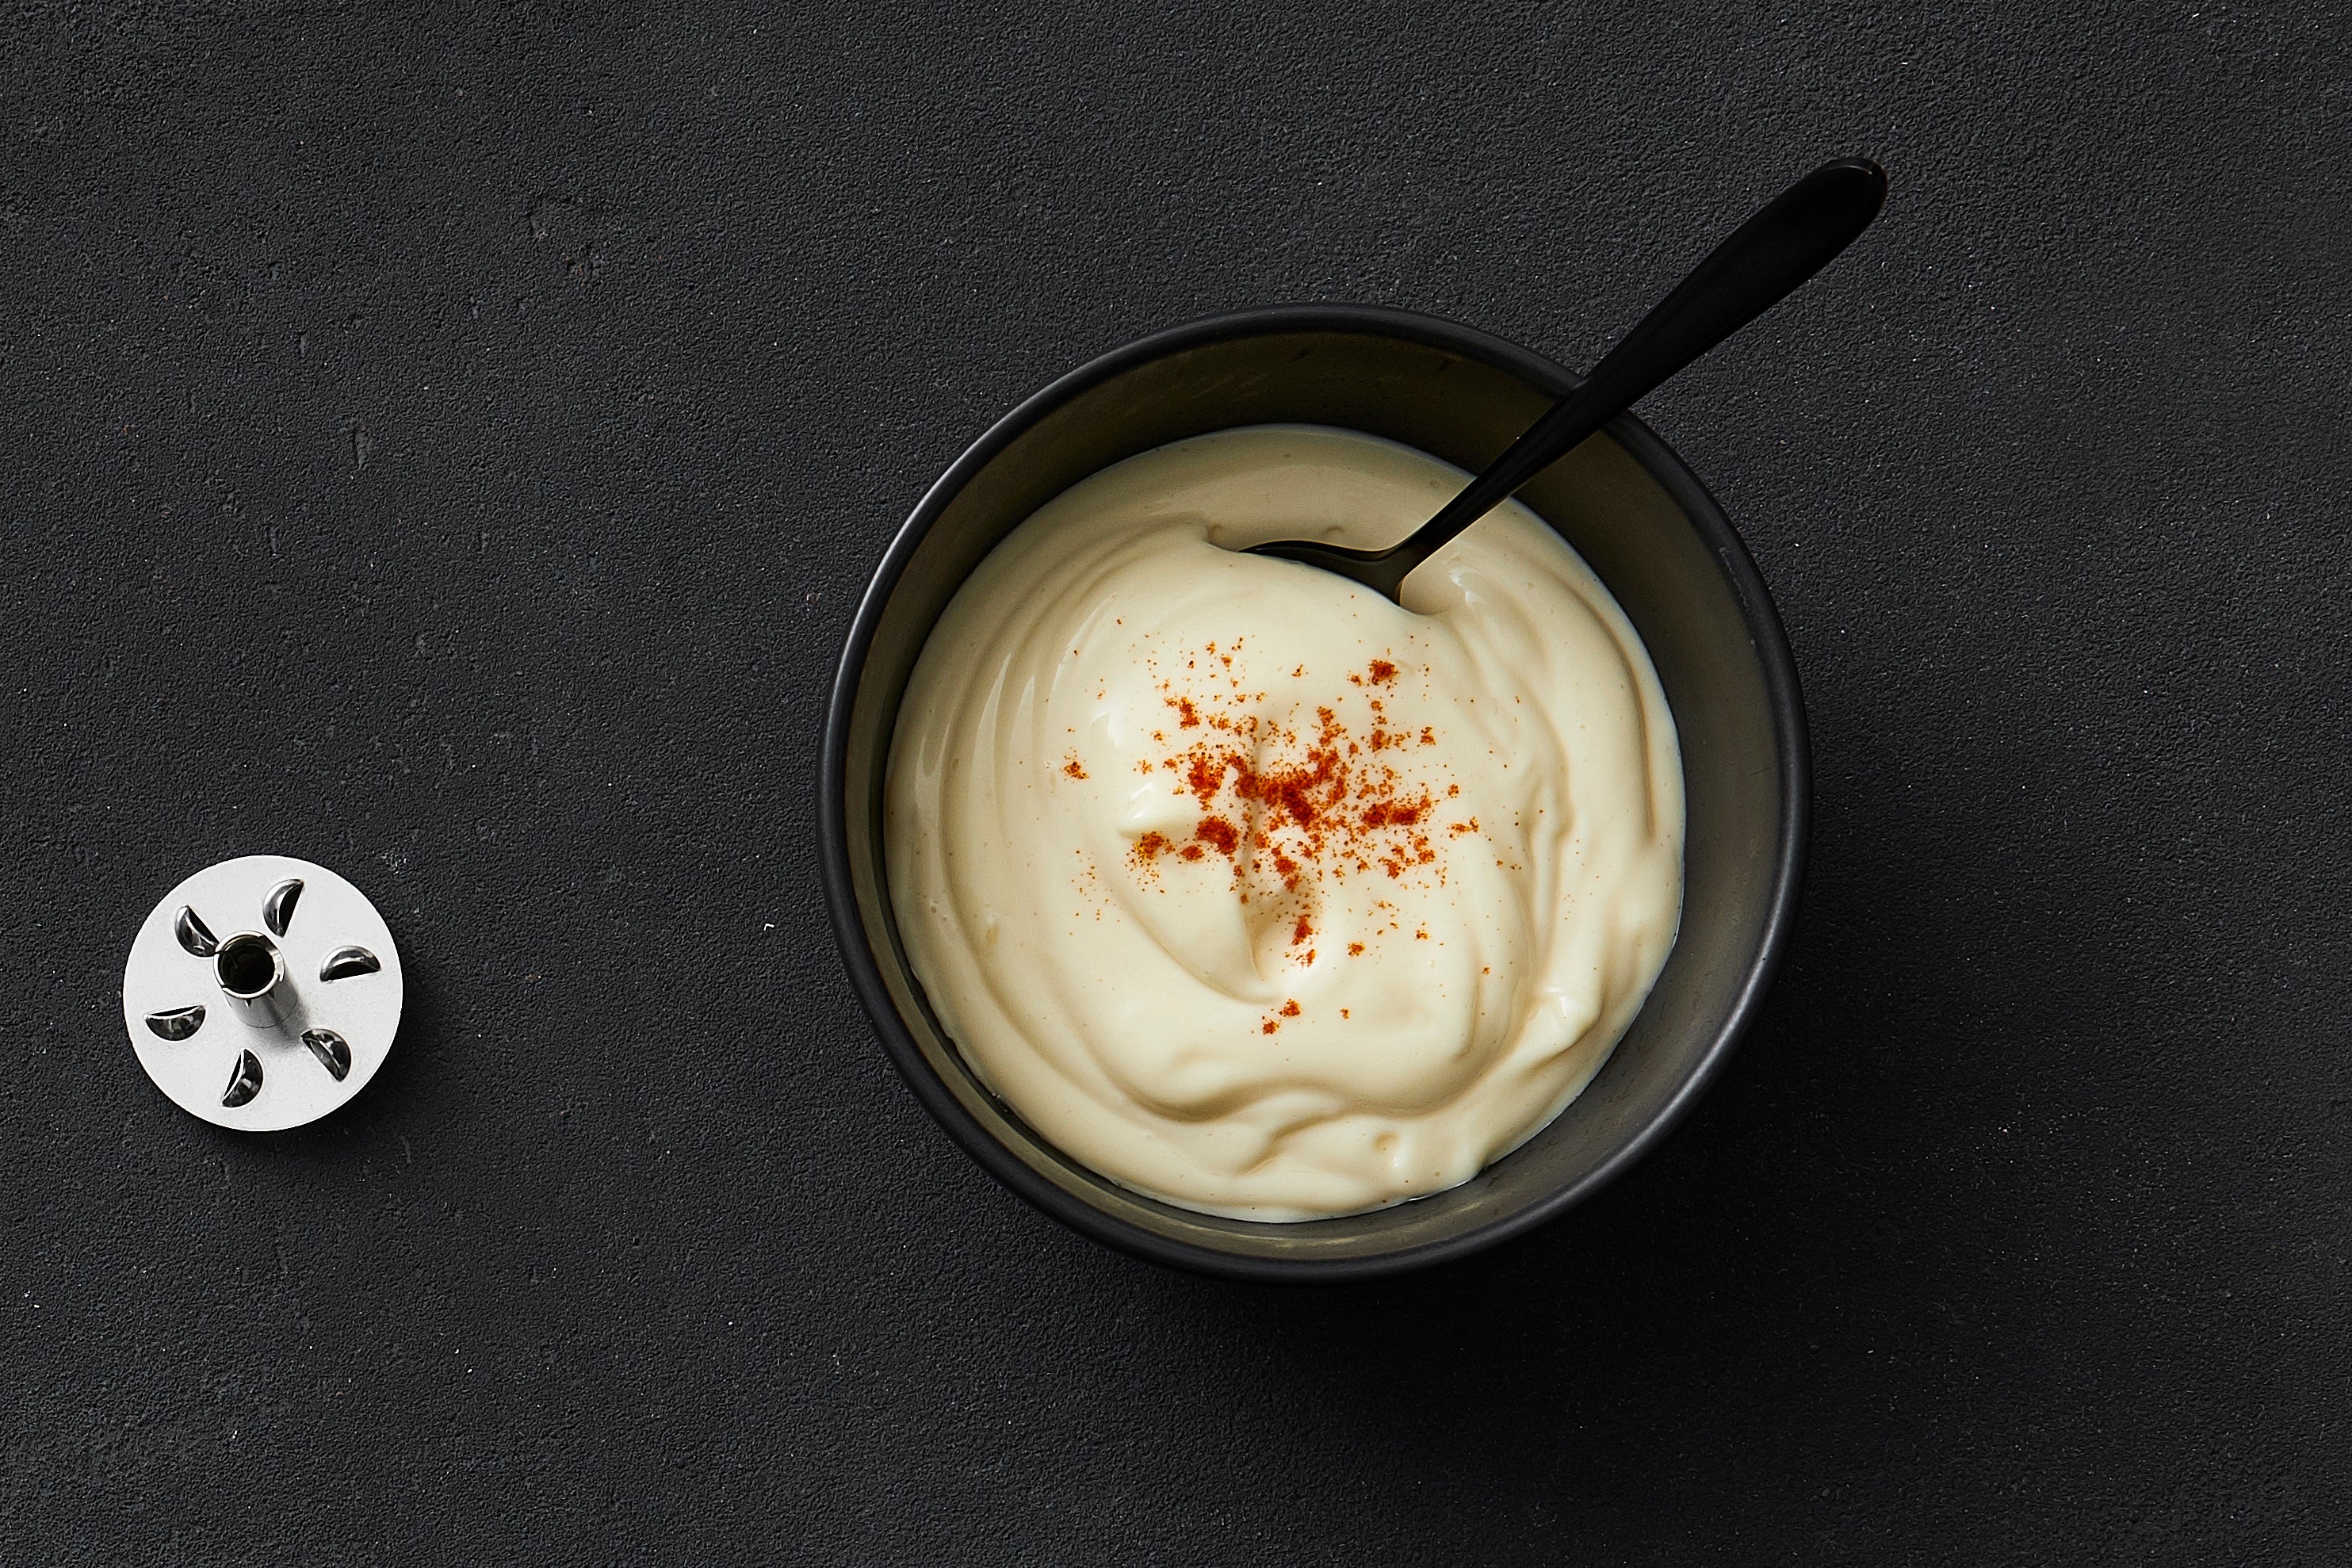
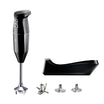
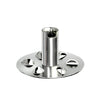
bamix® Whisk Blade
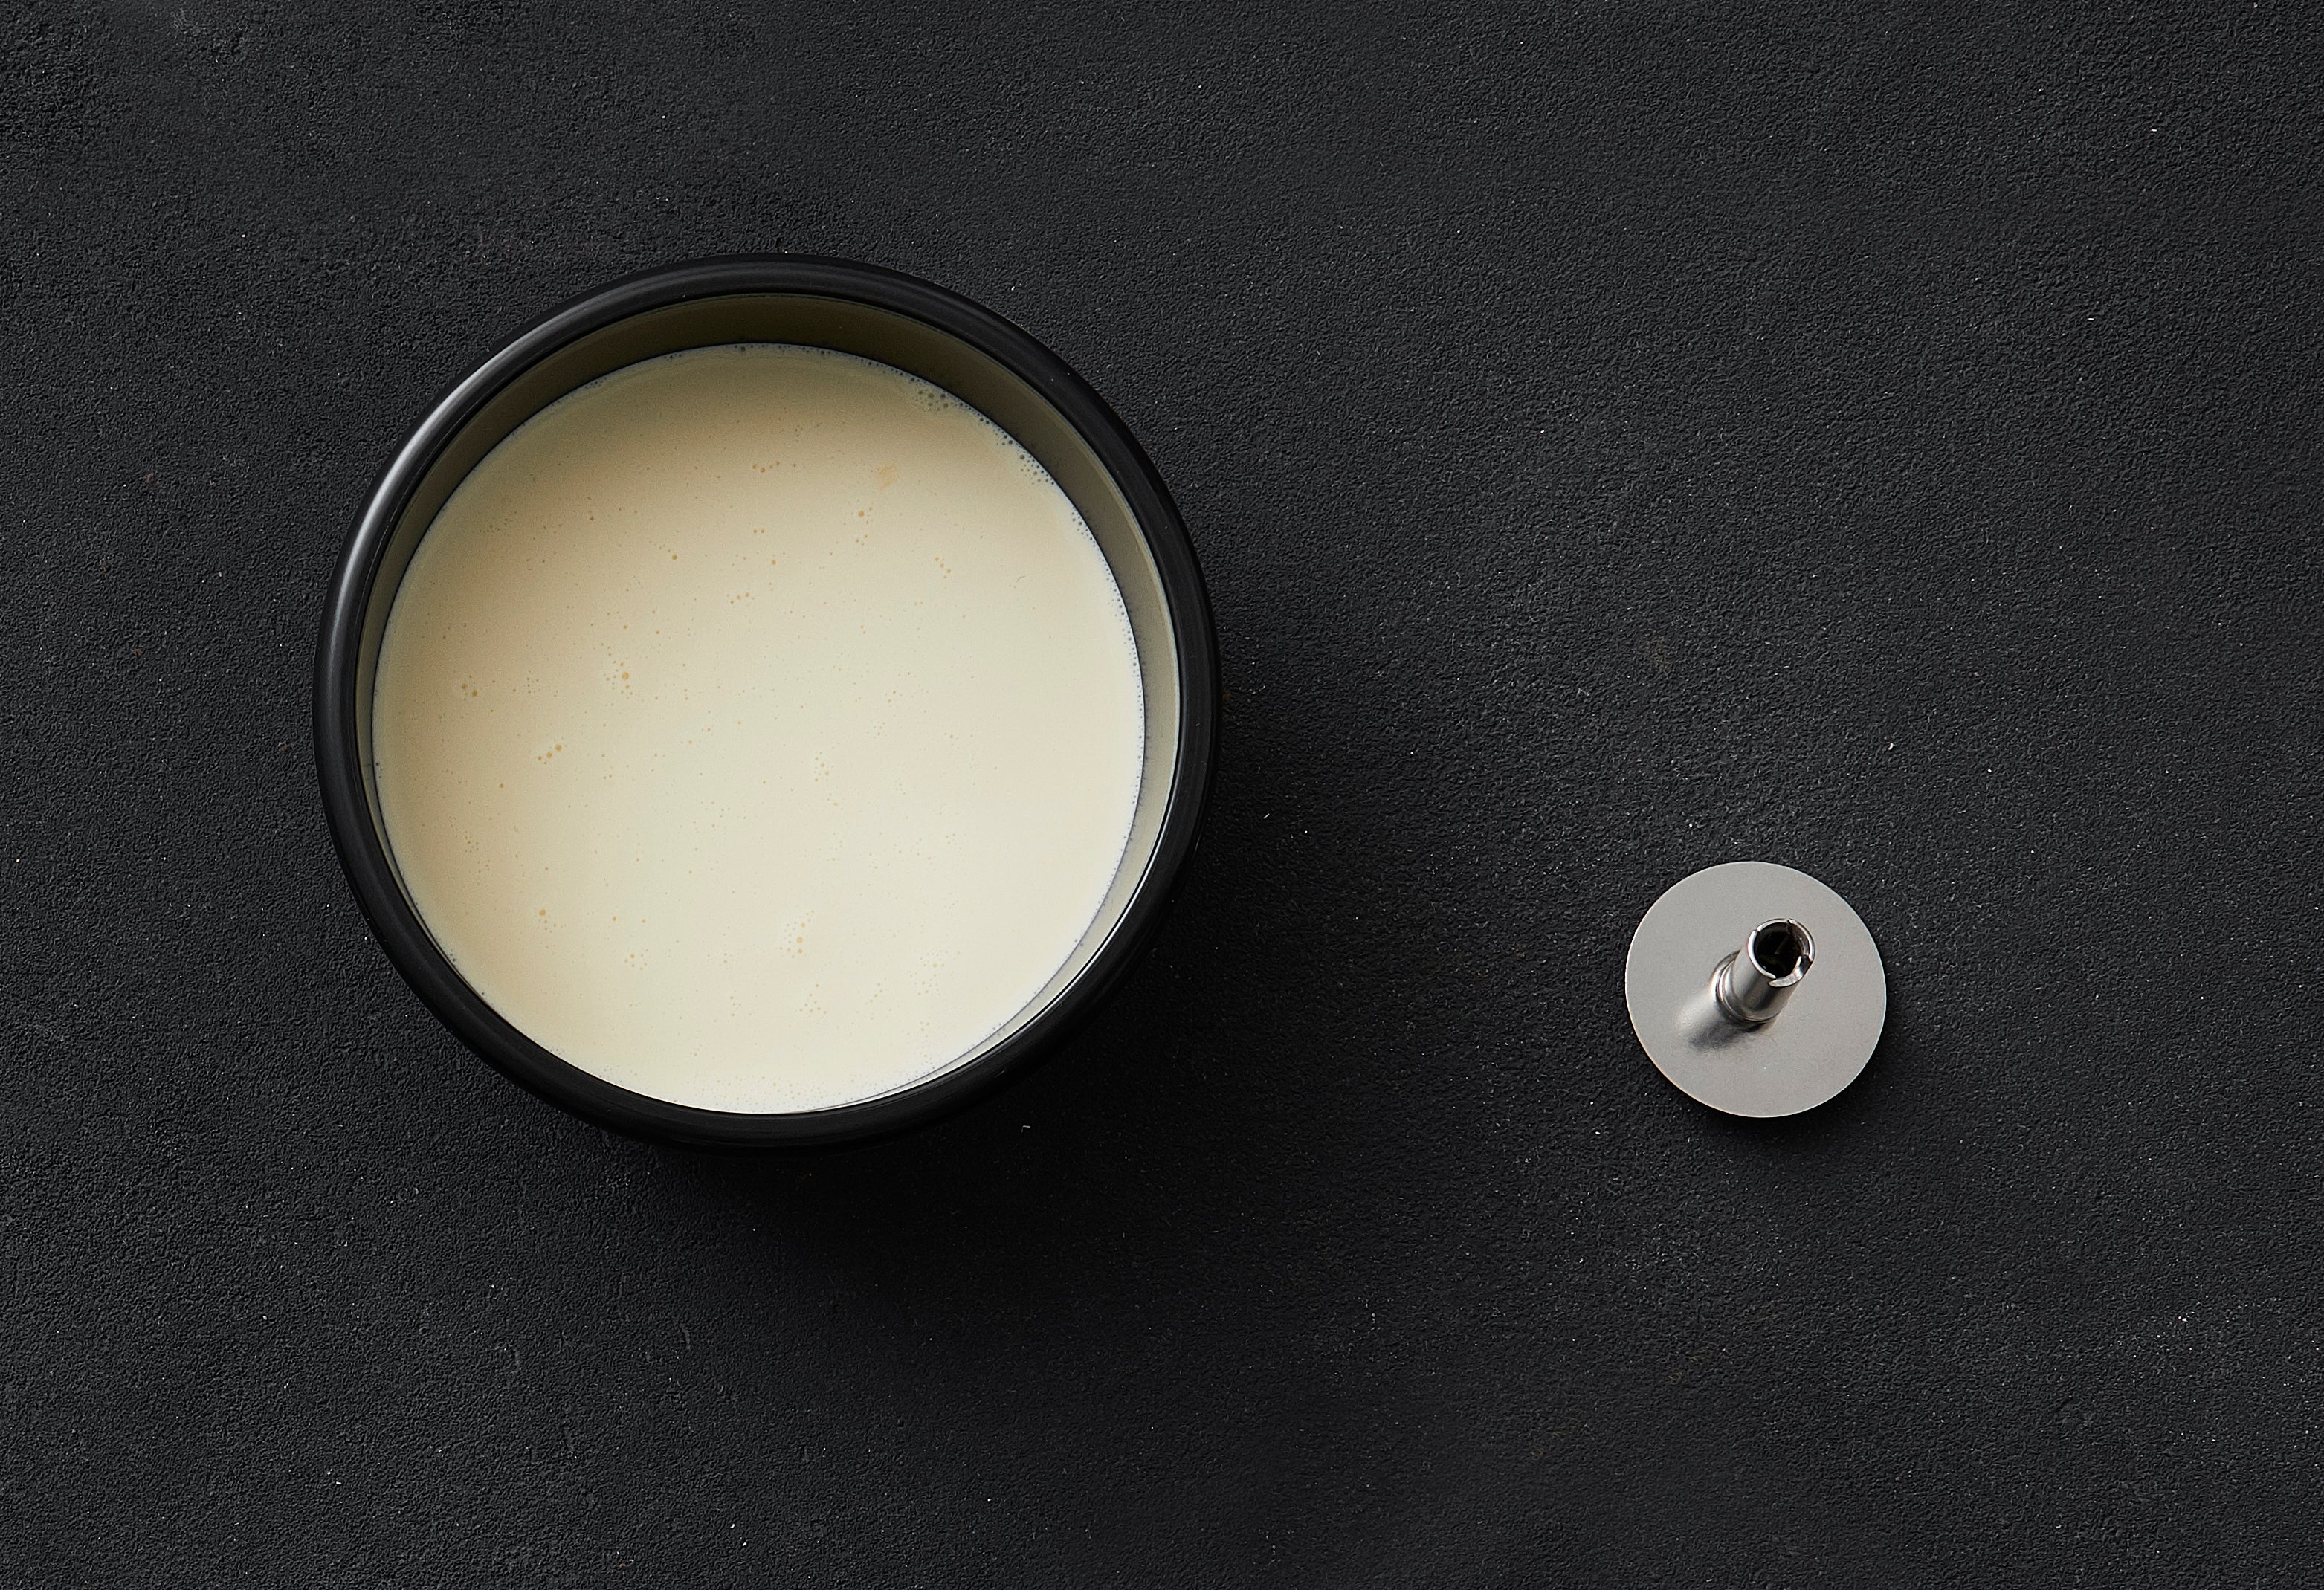
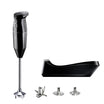
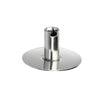
bamix® Beater Blade
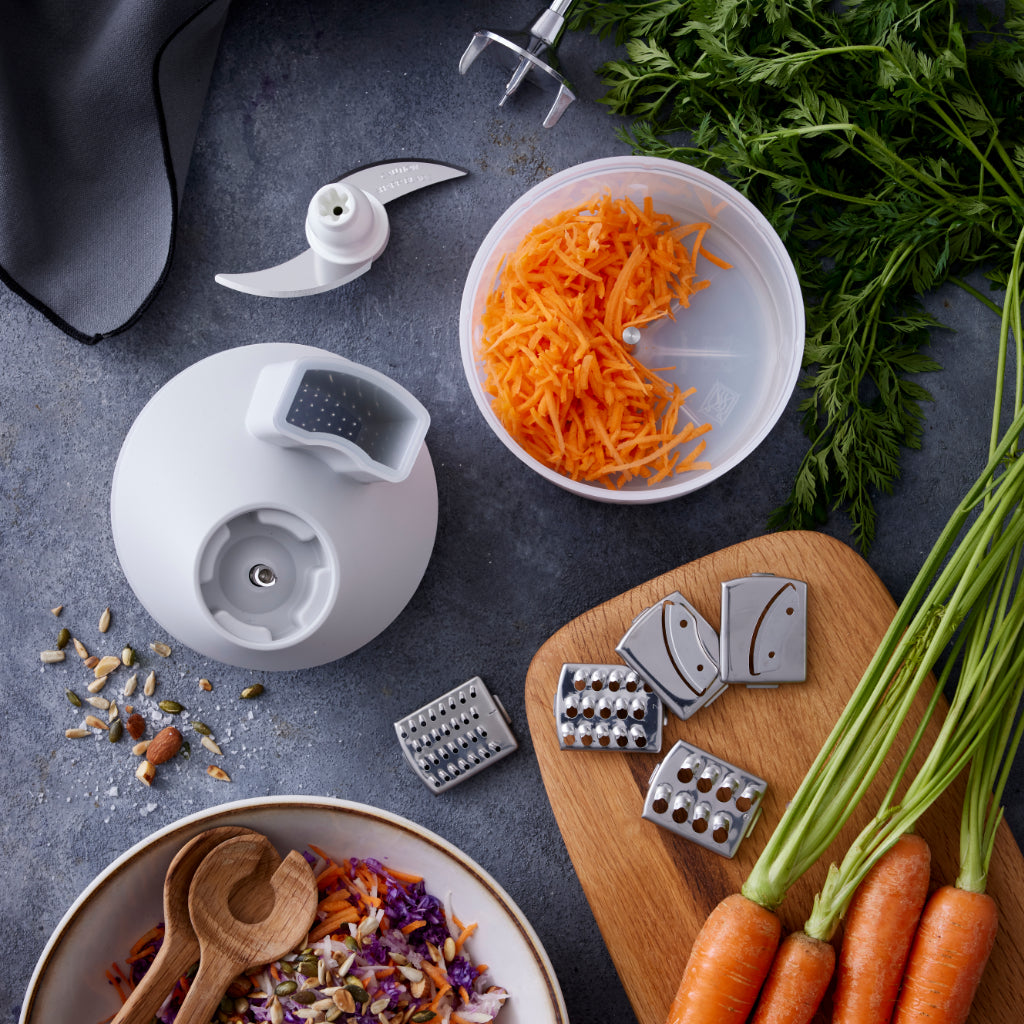
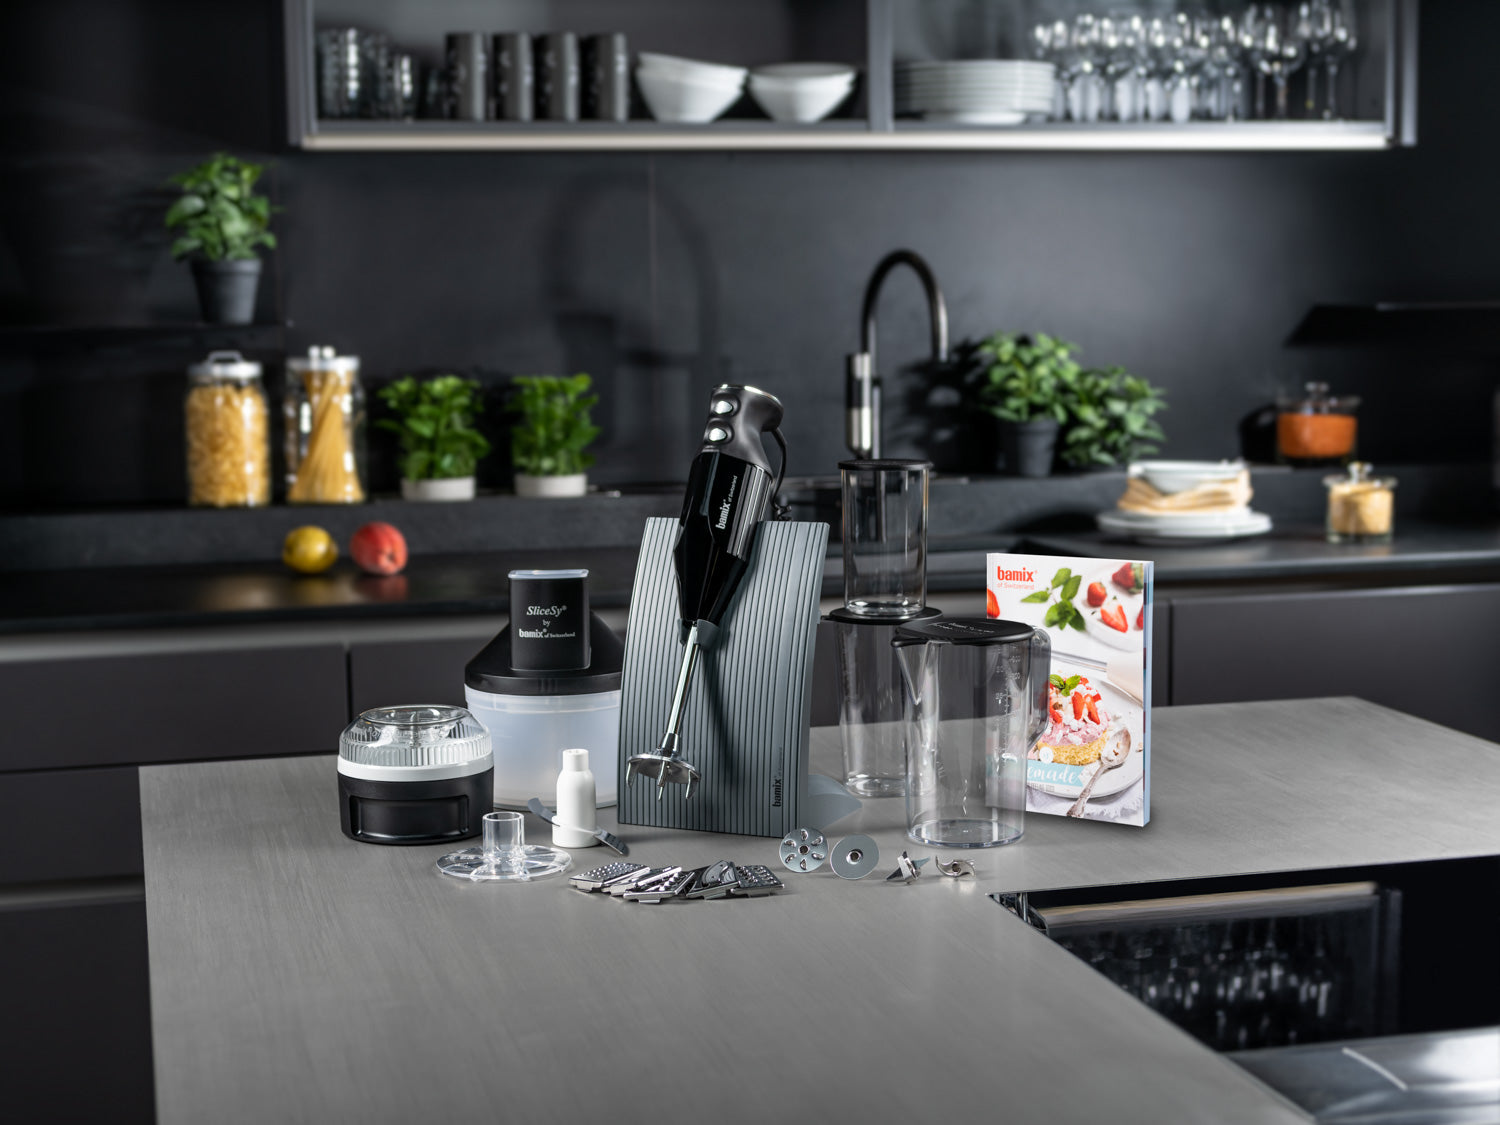
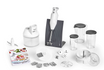
bamix® SliceSy®
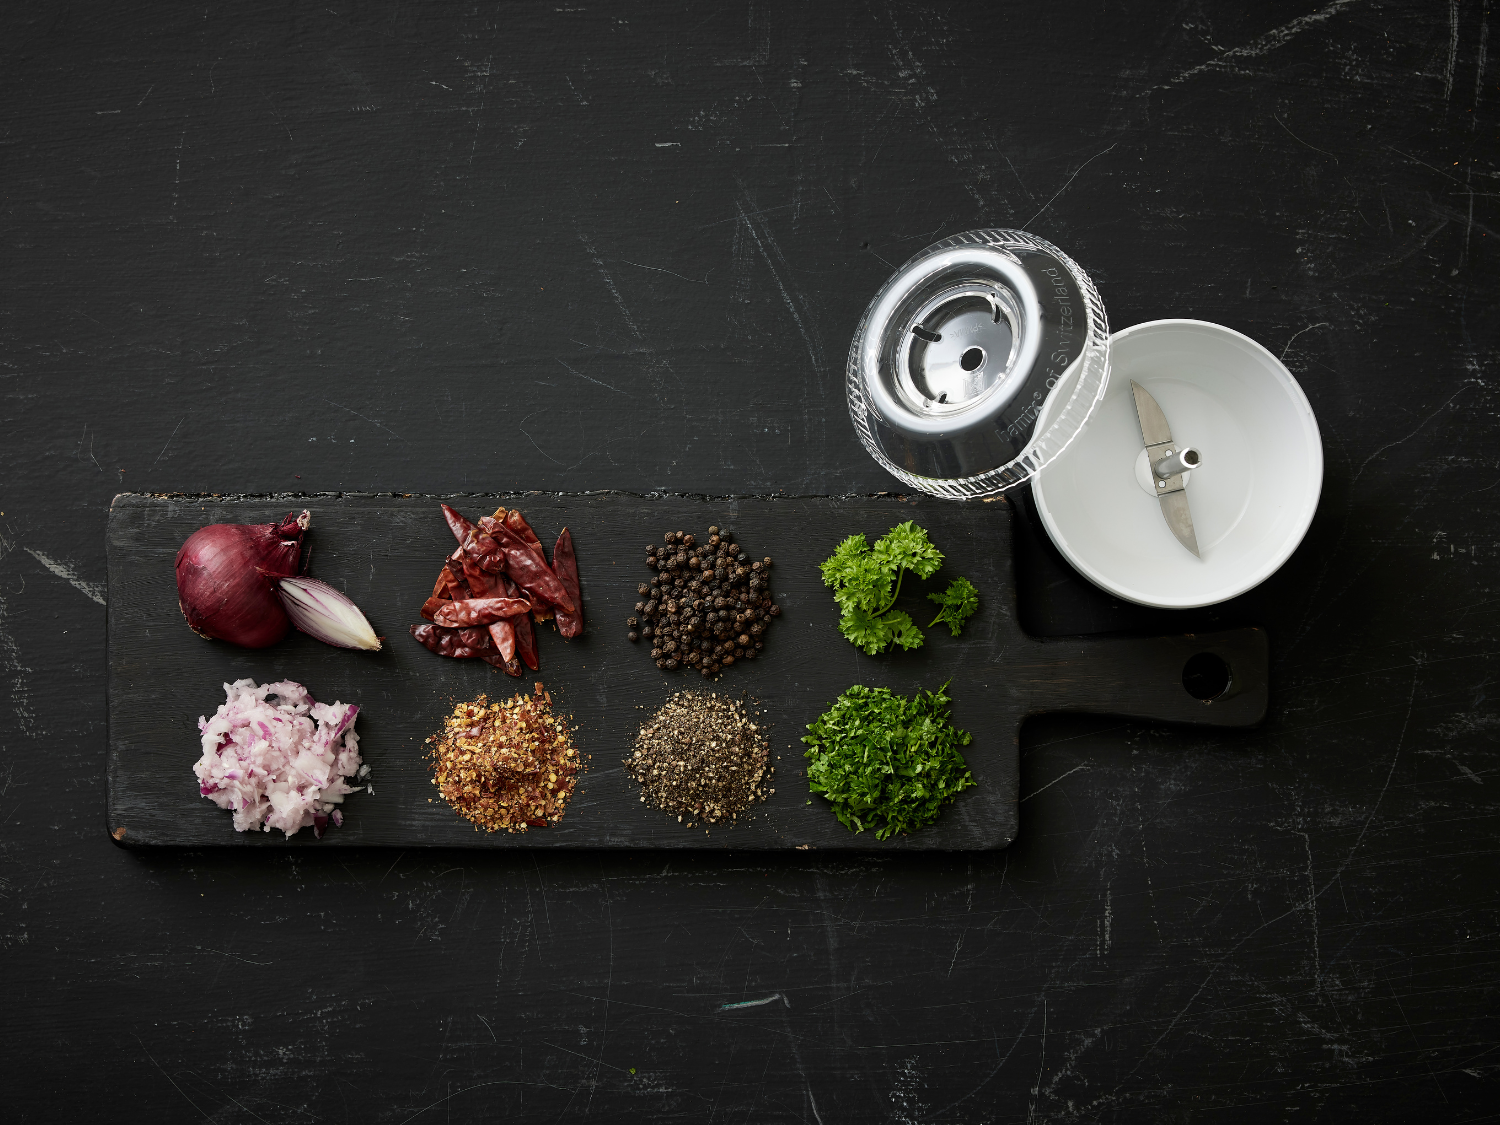
bamix® Processor

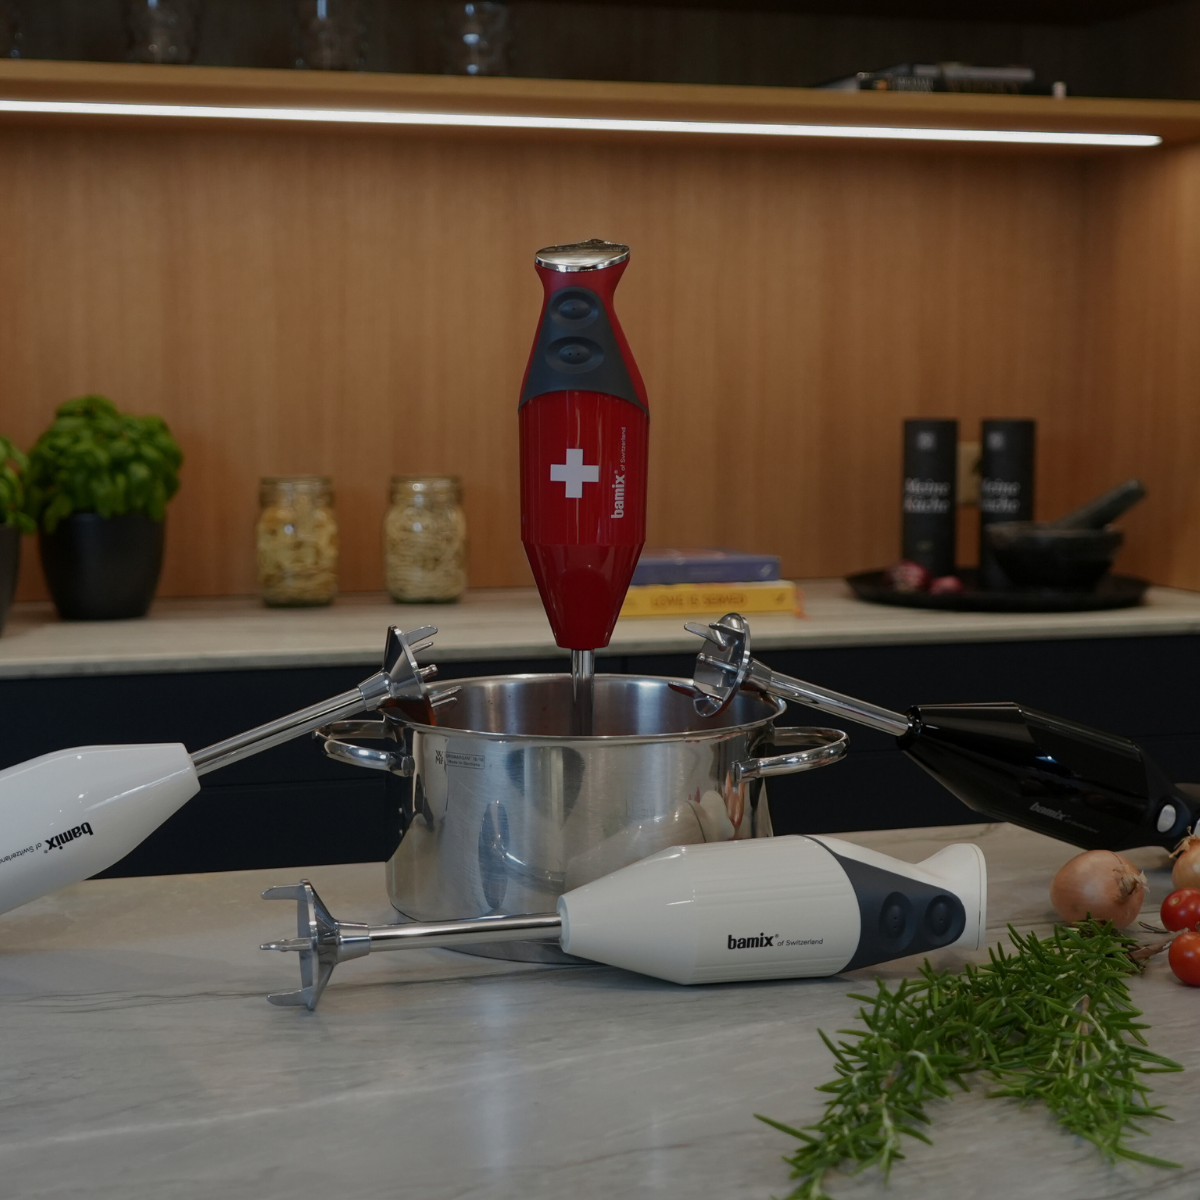
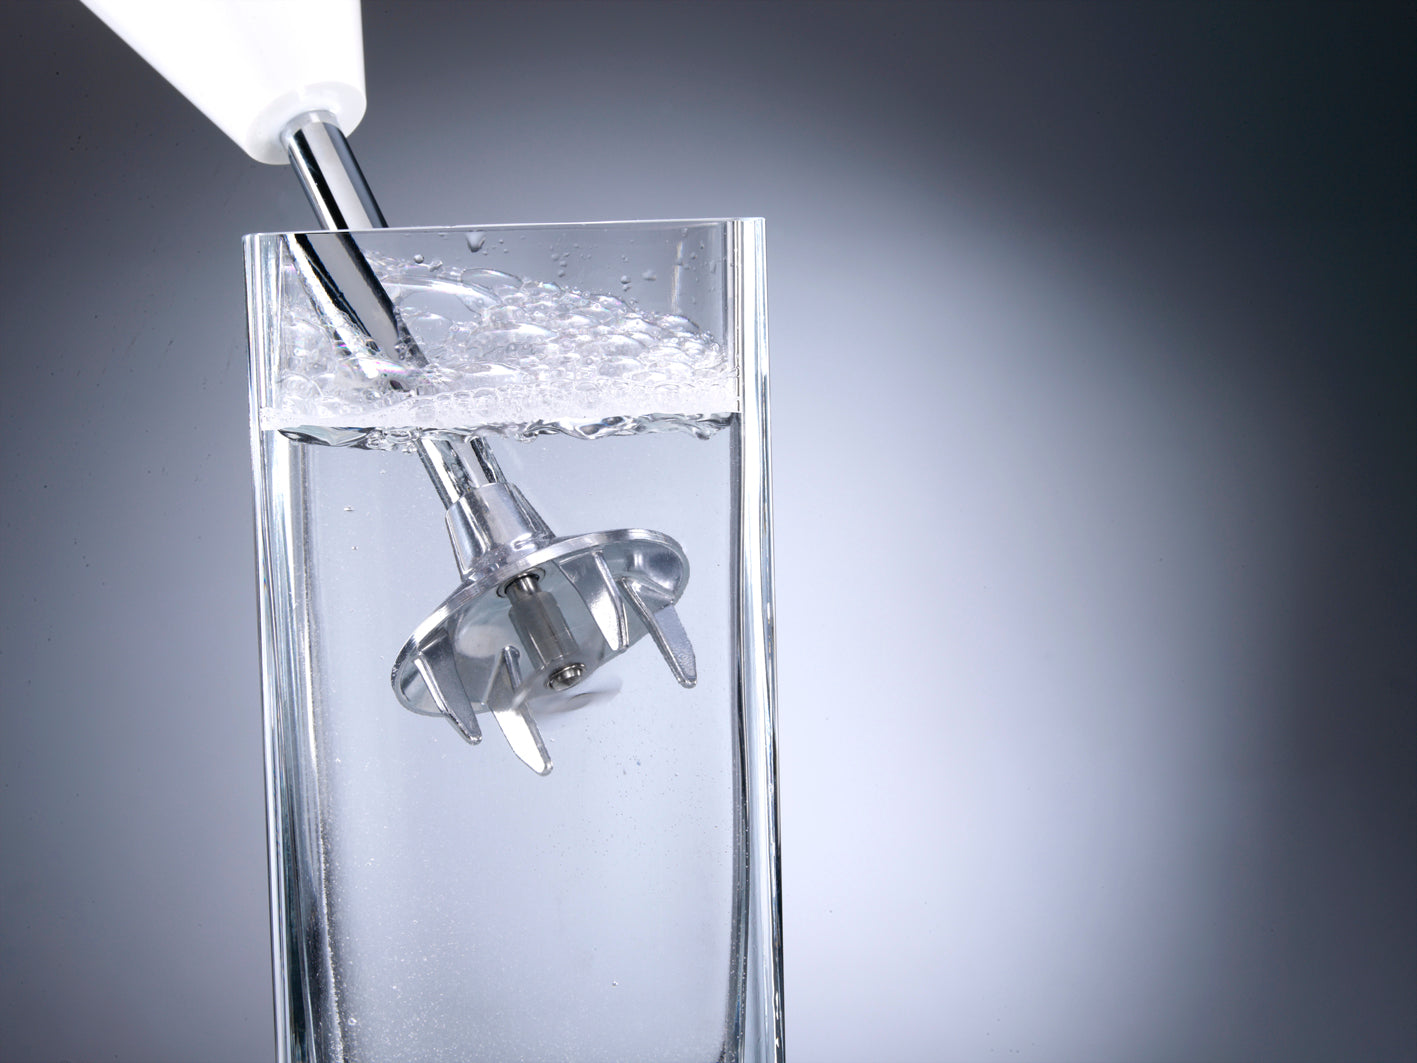
Speed 1: Use when the liquid does not fully cover the safety guard (with the 4 prongs) or when preparing light and airy foods such as whipped cream, fruit foam, or meringue.
Speed 2: Always use this setting as the standard — especially for hard foods and larger quantities.
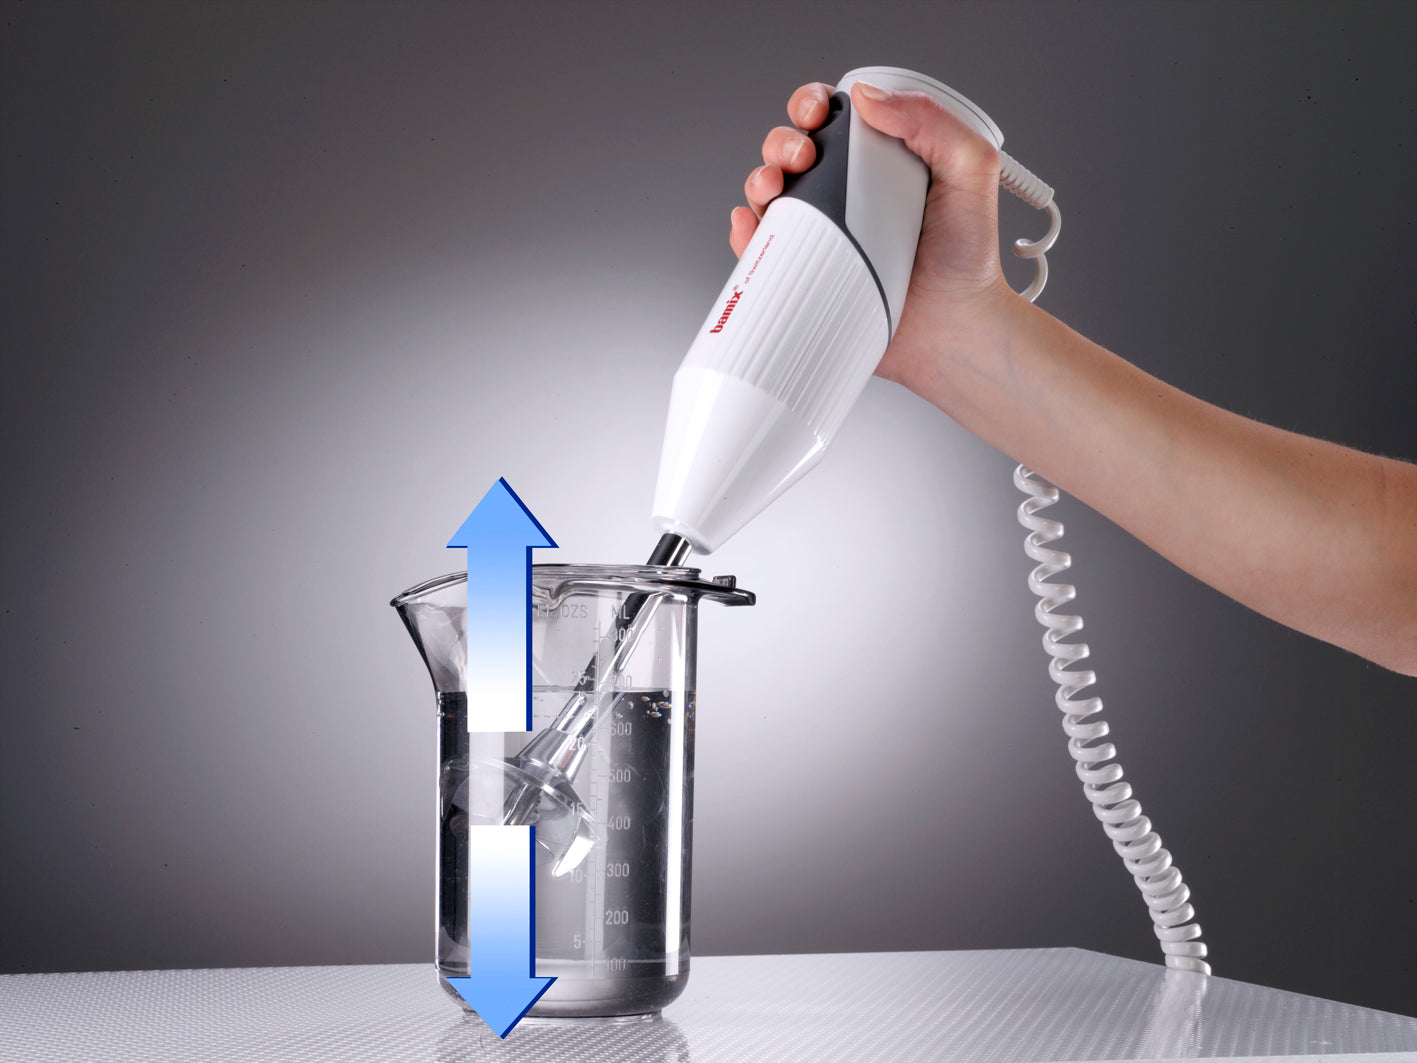
Place the bamix® for a few seconds at the bottom of the container.
Then tilt it slightly and slowly draw it upward along the side.
If the ingredients are no longer being pulled along, place it back on the bottom and repeat until the desired texture is reached.
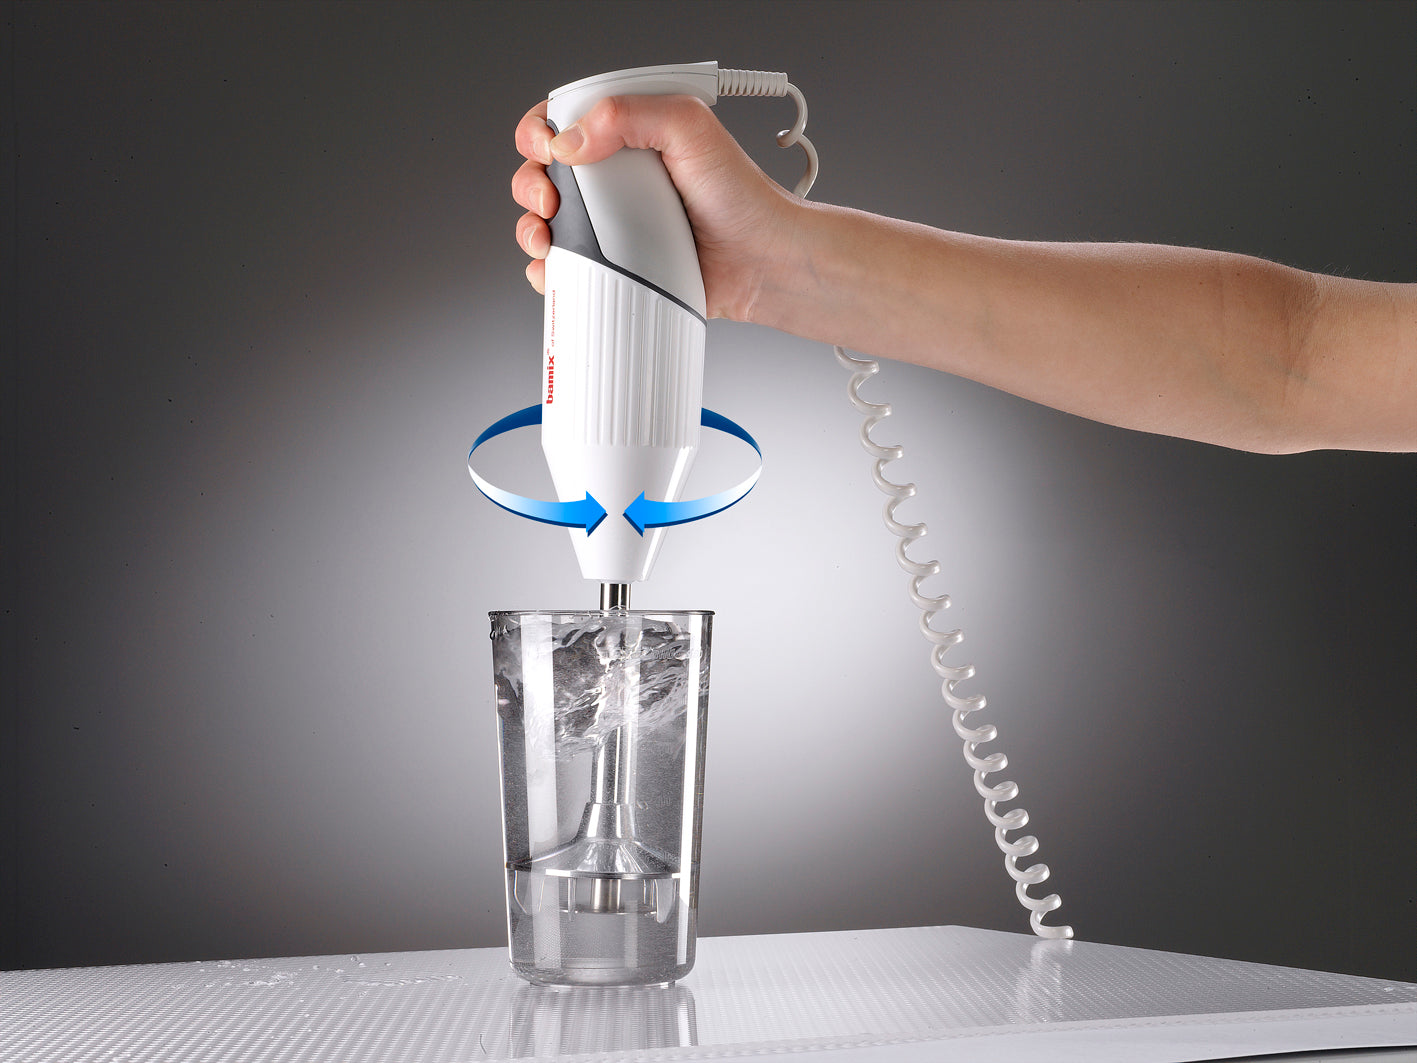
Work with a gentle rotating motion from the wrist.
Lift the bamix® slightly and let it glide back down. Do never press or pound.
The fineness of the result depends on the processing time.
Tip: Cover the container with your free hand to avoid splashes.
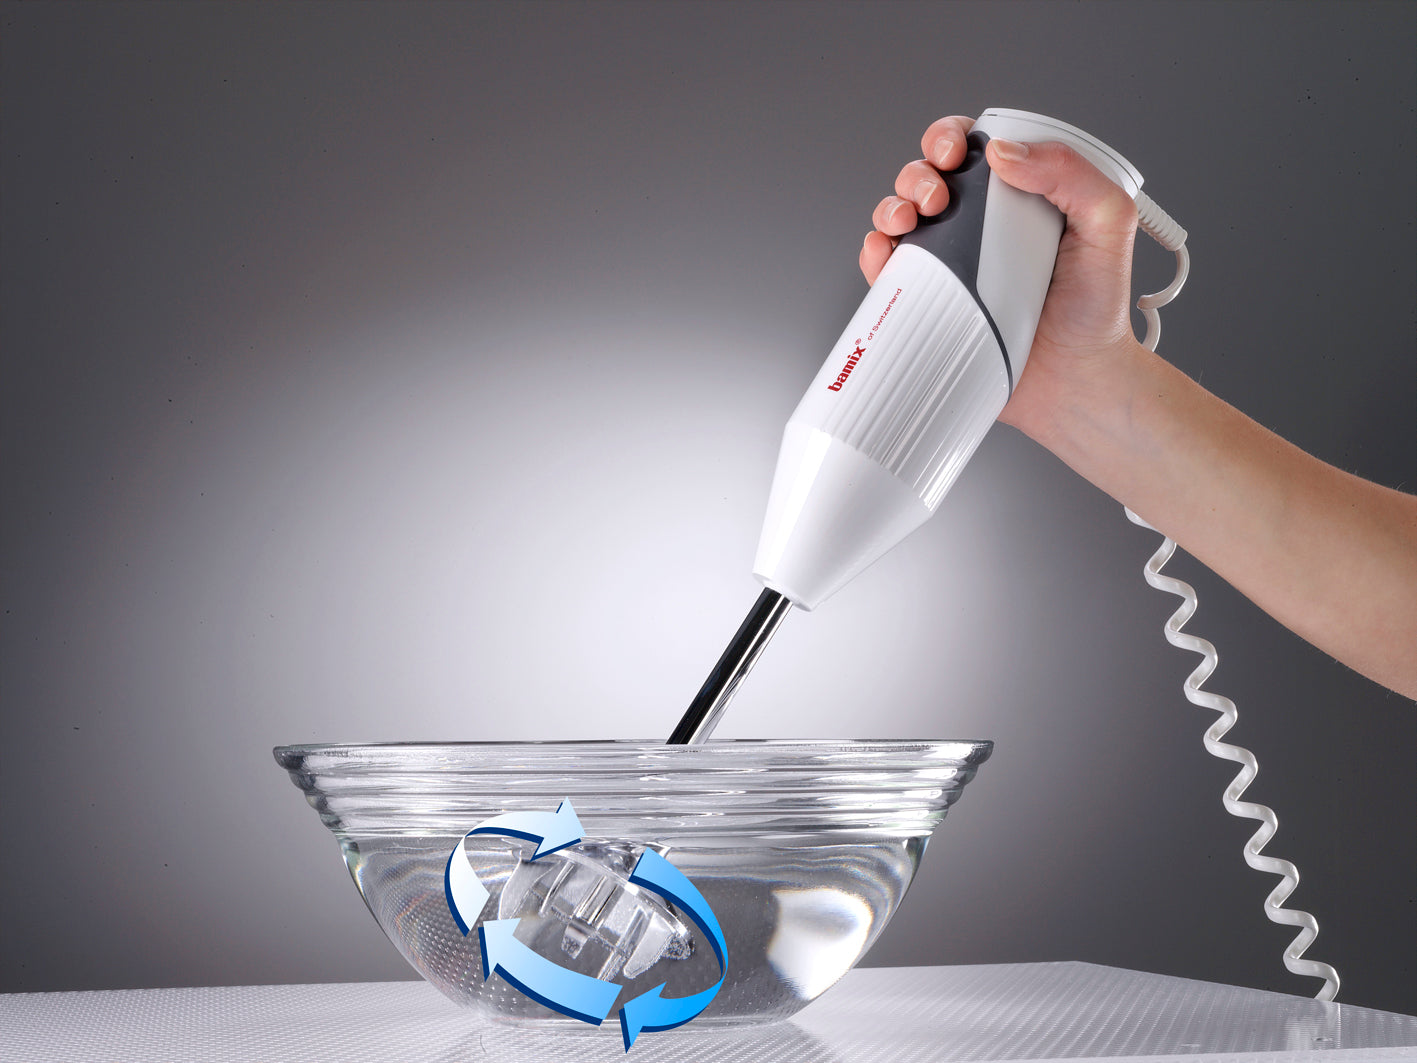
Immerse the bamix® at an angle, switch it on, and stir slowly.
Remember: the high speed does the blending — you simply guide it.
Always switch off before removing it from the mixture to prevent splashing.
Clean immediately after use to prevent food from drying on the drive shaft.
For thorough cleaning, immerse the bamix® in warm water with a drop of detergent and run it for a few seconds.
To maintain performance, apply a few drops of food-safe oil to the drive shaft from time to time.

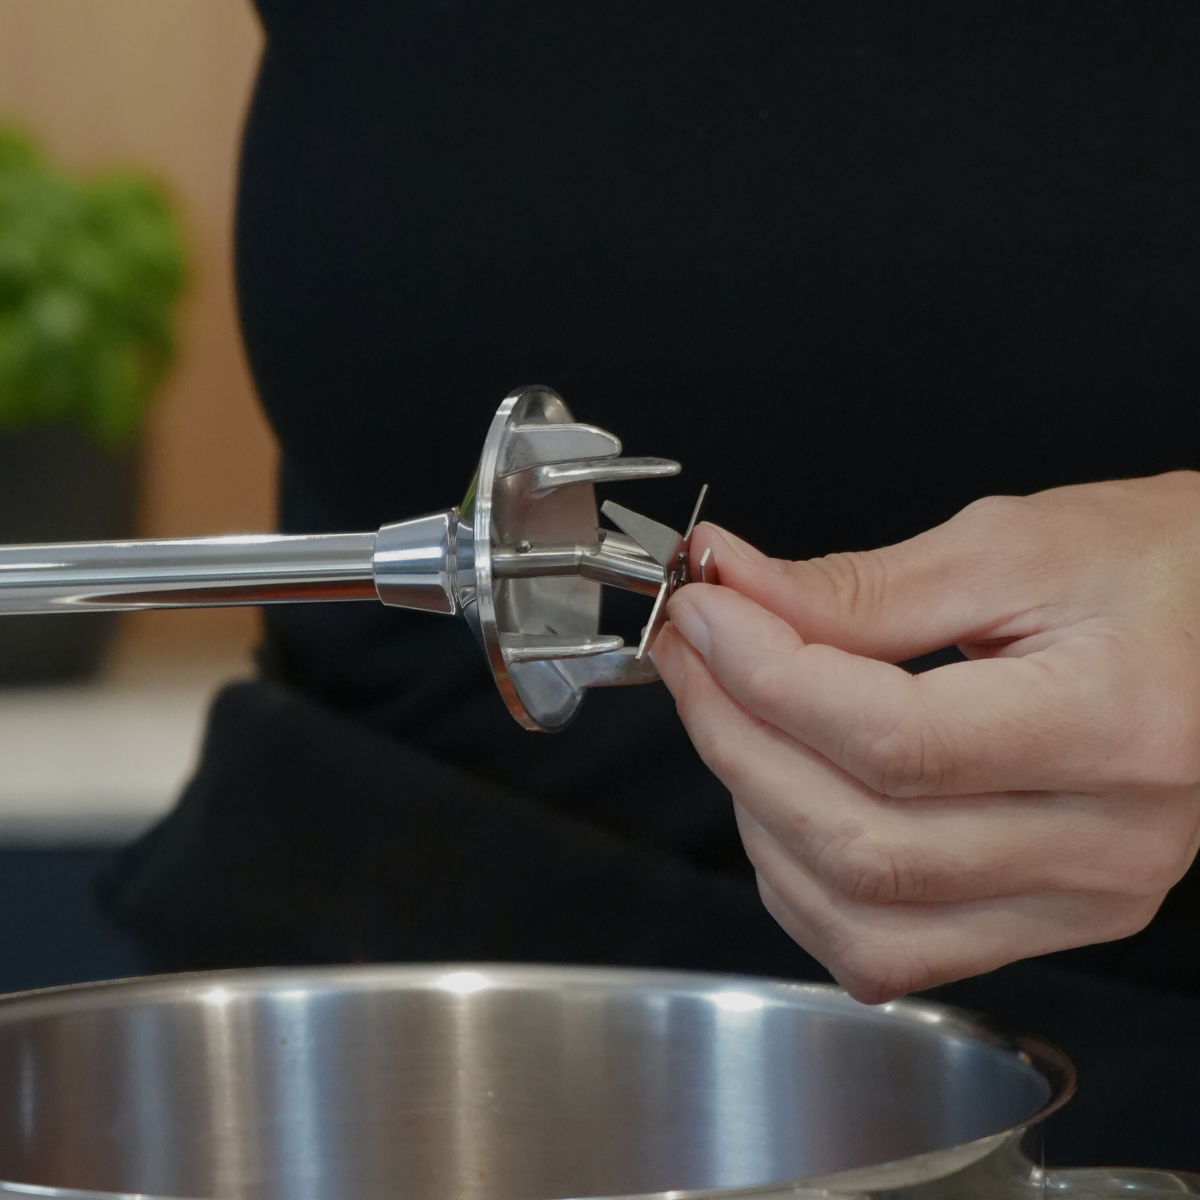
Always remove the attachment (blade, beater, or whisk) after use.
Ensure the bamix® is switched off and unplugged before handling attachments.
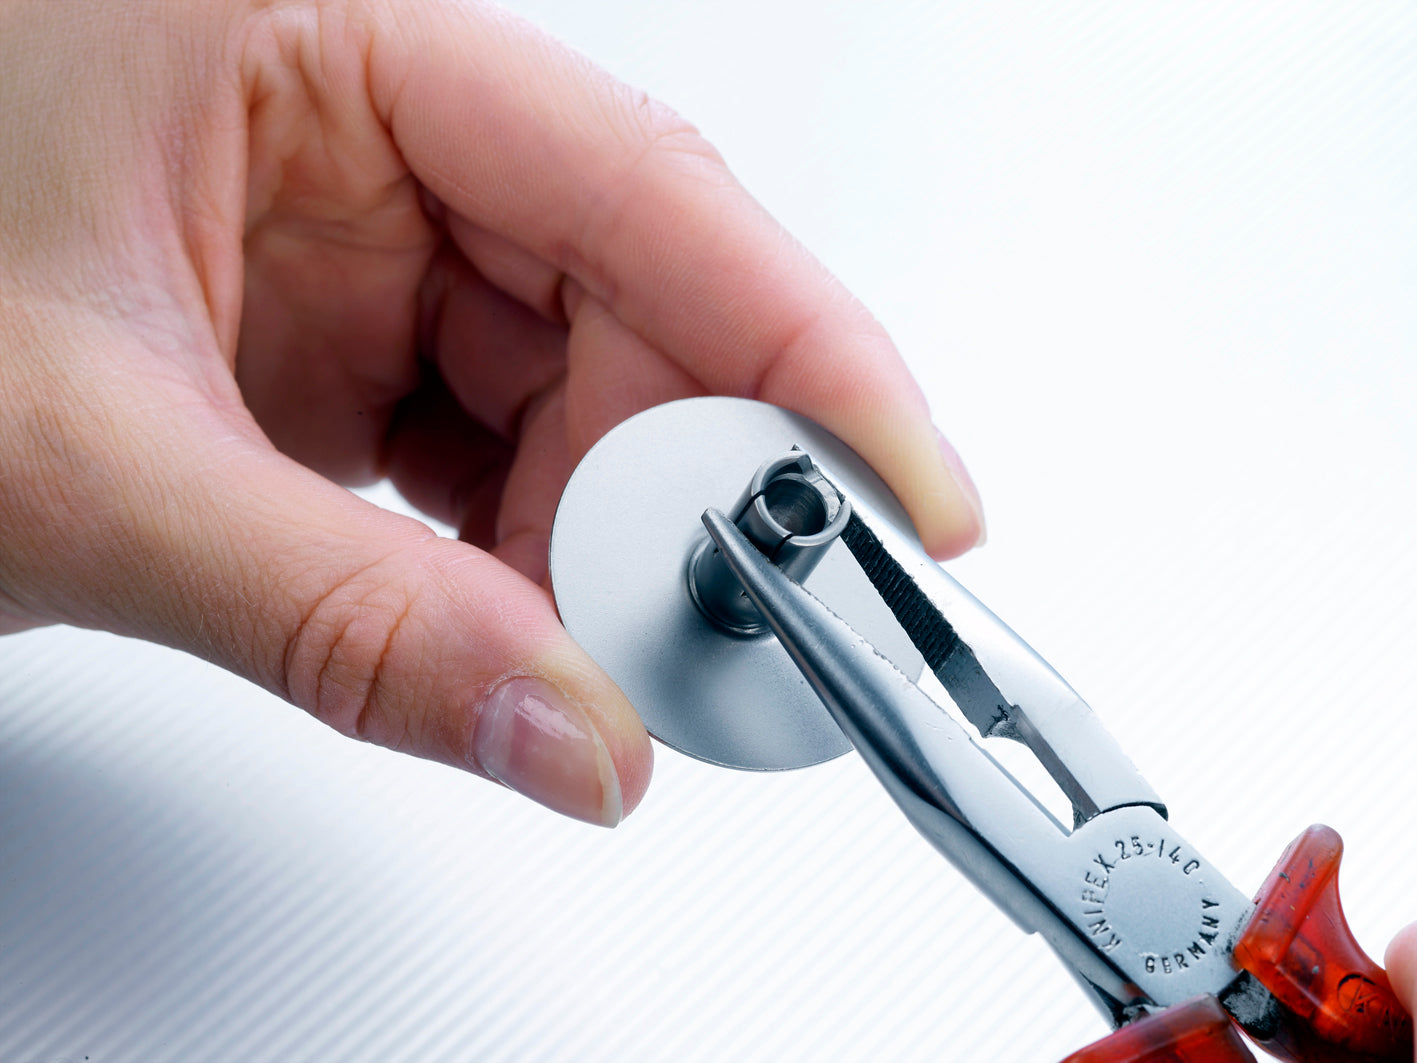
The blades are designed for re-tensioning. If they ever feel loose, gently press the spring panel with pliers as shown in the instructions.
Speed 1: Use when the liquid does not fully cover the safety guard (with the 4 prongs) or when preparing light and airy foods such as whipped cream, fruit foam, or meringue.
Speed 2: Always use this setting as the standard — especially for hard foods and larger quantities.
Place the bamix® for a few seconds at the bottom of the container.
Then tilt it slightly and slowly draw it upward along the side.
If the ingredients are no longer being pulled along, place it back on the bottom and repeat until the desired texture is reached.
Work with a gentle rotating motion from the wrist.
Lift the bamix® slightly and let it glide back down. Do never press or pound.
The fineness of the result depends on the processing time.
Tip: Cover the container with your free hand to avoid splashes.
Immerse the bamix® at an angle, switch it on, and stir slowly.
Remember: the high speed does the blending — you simply guide it.
Always switch off before removing it from the mixture to prevent splashing.
Clean immediately after use to prevent food from drying on the drive shaft.
For thorough cleaning, immerse the bamix® in warm water with a drop of detergent and run it for a few seconds.
To maintain performance, apply a few drops of food-safe oil to the drive shaft from time to time.
Always remove the attachment (blade, beater, or whisk) after use.
Ensure the bamix® is switched off and unplugged before handling attachments.
The blades are designed for re-tensioning. If they ever feel loose, gently press the spring panel with pliers as shown in the instructions.
